Create a sample database on Azure cloud
Posted on Wed 03 May 2023 in Databases
The best way to start learning Data science is to work on practical projects. You can find a lot of information available online that will help you learn how to use Python to work with data and there are many data sets available to the public for practicing data analytics. Almost all public data sets are made available as CSV files or from an API.
After reviewing data science books, courses, and online resources, I noticed one particular topic is not covered in enough practical detail: how to use Python to access data from an SQL database. If you do not have access to an existing database, and want to learn how to analyze data stored in a database, you have to create your own sample database, preferably pre-loaded with a sample data set.
This post will show you how to create your own free database server 1 on Microsoft's Azure cloud, populate it with the AdventureWorks sample database, and connect to the server. I will cover the details of exploring databases using various Python functions in future posts.
The Adventureworks Database
Microsoft created sample databases so that users can experiment with their SQL Server and other data products. The Adventureworks database emulates the data needs of a fictional bicycle manufacturing company and has complex, realistic relationships defined between data tables.
Adventureworks database comes in three versions:
- The OLTP version is for most typical online transaction processing workloads (50 MB)
- The Data Warehouse (DW) version is for data warehousing workloads (900 MB)
- The Lightweight (LT) version is a lightweight and pared down version of the OLTP sample (7 MB)
When you select the sample data set available on the Azure SQL Database service, Azure will deploy the Lightweight (LT) version of the Adventureworks dataset, also known as AdventureworksLT. This is suitable for the tutorial in this post. The other versions can be installed manually and would be used to learn advanced topics such as data warehouse technology.
Public Adventureworks Server
The Lightweight version of the Adventureworks database is available on a public server. If you do not want to create your own database server on Azure, you might choose to use the public server.
However, the public server only allows you to read database tables and does not allow you to read the database views. Database views are an important topic for data analysts because, for security and policy reasons, they often access data using database views defined by an administrator.
Since it is so easy to create your own Adventureworks database on an Azure SQL Server, and since you get additional functionality on your own server compared to the public server, I suggest you build you own server so you can experiment with data analytics.
How to configure services in Azure's free service tier
Microsoft Azure allows many different interfaces for configuring services. You may use Azure Portal, Azure CLI, Azure Resource Manager, Terraform, Microsoft's Python API 2, and more.
Azure CLI is easiest interface to include in a blog post where the reader may want to copy and paste steps. I will show you how to quickly create a sample database using Azure CLI and then show you how to connect to it using Python libraries.
If, instead, you want to use Azure Portal to create your sample database, follow the instructions in Microsoft's Azure documentation and then skip down to the rest of this post to learn how to connect a Python program to the sample database.
Create an Azure account
If you do not already have an Azure account, create one. Go to https://azure.com and click on the Free account button.
In the next few pages that appear, you agree to terms and conditions and enter your user information such as your e-mail address and password.
Install Azure CLI
Azure CLI can be installed on all major operating systems, including Linux. To install Azure CLI on Ubuntu, run the following command in your terminal window:
$ curl -sL https://aka.ms/InstallAzureCLIDeb | sudo bash
Or, if you don't like piping a third-party bash script through sudo, follow the step-by-step install instructions provided by Azure.
Log into your Azure account
To login to your Azure account using Azure CLI, run the following command:
$ az login
This starts login with interactive mode. A browser window will open up and ask you for your Azure account userid and password
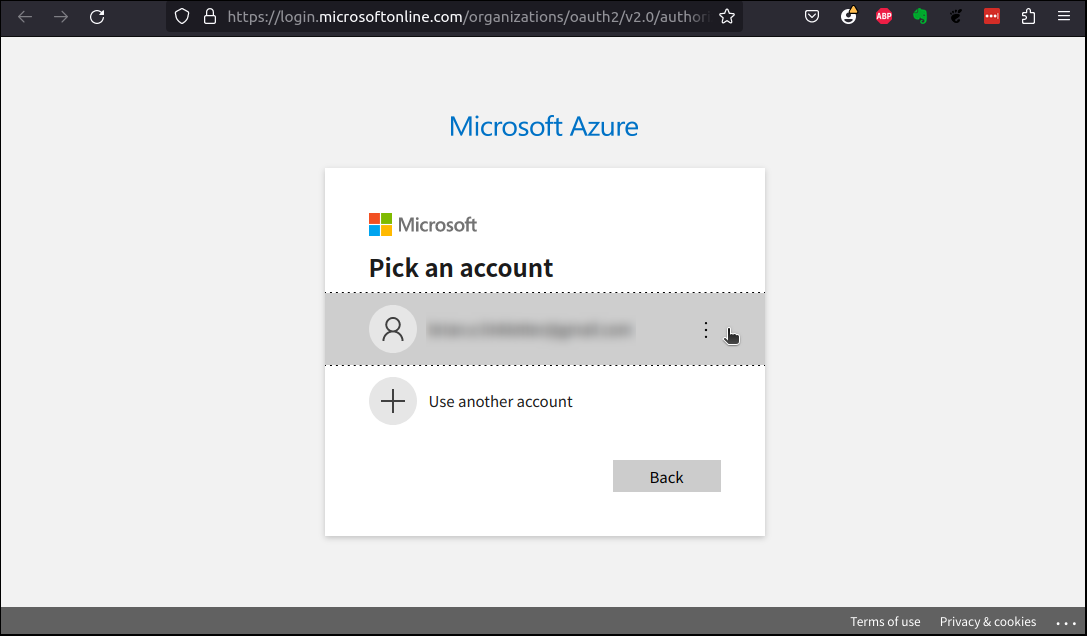
Enter your Azure userid. Then, enter your password at the next screen. You should see a notification in the browser window indicating you successfully logged it and you should see your account information printed in the terminal window.
Solving login problems
If you have trouble logging in with the interactive method, check the Azure CLI login instructions for other login methods. Azure has multiple ways to login with Azure CLI, depending on your account settings.
For example, since I use multi-factor authentication on my Azure account, I had to use the following command to login:
$ az login --use-device-code
Create an SQL Server on Azure
If you want to create a database that you can experiment with, you need to act like a database administrator and set up a database server and a database.
This section describes how to set up a free sample database for practice purposes and to gather the information you need to connect to it. I do not cover other SQL database administration topics like adding new database users, setting up user roles, and permissions.
Free service tier restrictions
Microsoft provides some good examples of using Azure CLI to set up an SQL Server database. The largest SQL server configuration supported on the free tier is:
- 1 S0 database
- 10 database transaction units
- 256 GB storage
Fortunately, these seem to be the default values for Azure SQL servers so you only need to specify a few configurations to set up a server that fits within the free tier.
Create a dotenv file
Choose your database configuration information. You need to know the Azure location where you will deploy your services; pick one located close to you. Next, you need to decide what names you will assign to your resource group, server, and database. You will also have to choose your SQL database userid and password.
Assign your database server configuration information to environment variables that you can use in your Azure CLI commands and in your Python programs. The best way to do this is to create a file named .env, also known as a dotenv file 3. I wrote about environment variables and dotenv files in a previous post.
First, create a directory for your project and navigate to it. You may name your project folder anything you wish. I named mine data-science-folder.
$ mkdir data-science-folder
$ cd data-science-folder
Open a new file in your favorite text editor and enter the environment variables you need. Look at the example values below. You should use the same variable names but assign your own values to them. You are choosing the Azure location where your server will be deployed. Then, you pick the names for your Azure resource group, SQL server, and SQL database. Finally, you pick your database userid and password.
location="eastus"
resource_group="new-resource-group-name"
server="my-sql-server-name.database.windows.net"
database="my-sql-database-name"
login="sqldb_userid"
password="sqldb_passwd"
Save the file as .env in your project directory.
Activate your environment variables using the dotenv file:
$ source .env
Now, the environment variables are available in your terminal's shell and also will be available to your Python program.
Create a resource group
Use the Azure CLI to create a new resource group in which you will allocate your SQL Server and database.
$ az group create \
    --name $resource_group \
    --location $location
Create an SQL Server
Create an SQL Server instance that will run in the free service tier.
$ az sql server create \
    --name $server \
    --resource-group $resource_group \
    --location $location \
    --admin-user $login \
    --admin-password $password
The server name needs to be unique to the Azure location. The command will take a few minutes to complete.
Create an SQL database instance
Create an SQL database instance that will run on your server and fit within the free service tier. Populate it with Microsoft's AdventureWorks sample data set.
$ az sql db create \
    --resource-group $resource_group \
    --server $server \
    --name $database \
    --sample-name AdventureWorksLT \
    --edition Standard \
    --service-level-objective S0 \
    --zone-redundant false
After the command completes, it displays the database information in JSON format. It lists a lot of information. In the JSON output, you can see that the configured database fits within the free tier because the capacity is 10, the edition is standard, the service objective is S0, and the maxSizeBytes disk size is 268435456000 or 256 GigaBytes.
Enable access through database firewall
Azure automatically blocks your database server from Internet access. To allow programs running on your development PC to connect to the database, set up a new firewall rule on the SQL server.
You need to know the correct IP address to allow. You can get your public IP address, which may be different than the IP address configured on your PC, by opening https://google.com in your web browser and searching for: "What is my IP address?". This will give you the IP address that external services see when they receive traffic from your PC.
Make a note of the address and then use it to create a firewall rule that allows connections from that IP address. For example, if that IP address was 203.0.113.23:
$ az sql server firewall-rule create \
    --resource-group $resource_group \
    --server $server \
    --name MyHomeIPaddress \
    --start-ip-address 203.0.113.23 \
    --end-ip-address 203.0.113.23
Only users on the same address as your PC can access the server, and they still need to know all the server information and passwords to connect to it. This server is only for experimentation and you will delete it when you are done, so you do not need to learn the more advanced Azure database security options.
Your database server is set up and ready to experiment with. If you recently started your free trial on Azure, you can use it for twelve months for free.
Connect your Python program to the Azure SQL Server Database
To connect to an SQL Server running on Azure, use the Microsoft ODBC Driver for SQL Server which works with the pyodbc library to authenticate your Python program's access to the Azure database.
Install Microsoft ODBC driver for SQL Server
Install the Microsoft ODBC Driver for SQL Server on Linux using the following procedure:
Add the Microsoft repository to your sources list:
$ sudo su
$ curl https://packages.microsoft.com/keys/microsoft.asc | apt-key add -
$ curl https://packages.microsoft.com/config/ubuntu/$(lsb_release -rs)/prod.list > /etc/apt/sources.list.d/mssql-release.list
$ exit
Install the msodbcsql18 package:
$ sudo apt-get update
$ sudo ACCEPT_EULA=Y apt-get install -y msodbcsql18
You may need to logout and login again to ensure everything works well.
Set up a Python virtual environment
To create a Python virtual environment, navigate to your project folder and run the following commands. In this example, I named my project folder data-science-folder.
$ cd data-science-folder
$ python3 -m venv env
Then, activate the virtual environment.
$ source ./env/bin/activate
(env) $
Install the python-dotenv package in your Python project's virtual environment. You will use it later.
(env) $ pip install python-dotenv
Install the pyodbc library
Next, install pyodbc, the open-source Python ODBC driver for SQL Server. This provides the Python interface to the Windows ODBC driver.
(env) $ pip install pyodbc
(env) $ sudo apt install unixodbc
Get the connection string
You need to know the connection string that you must pass into the pyodbc function in your program. Normally, you might ask your database administrator for a valid connection string but, since you create this database yourself, you need to get the connection string from Azure.
Use Azure CLI to get the connection string for your ODBC driver.
(env) $ az sql db show-connection-string \
          --client odbc \
          --name $database \
          --server $server
You should get an output similar to the following:
"Driver={ODBC Driver 13 for SQL Server};Server=tcp:my-sql-server-name.database.windows.net,1433;Database=my-sql-database-name;Uid=<username>@my-sql-server-name;Pwd=<password>;Encrypt=yes;TrustServerCertificate=no;"
You will need to update the driver version from "13" to "18". Use the rest of the string as building blocks for a Python statement that creates a valid connection string.
Open a new file in your favorite text editor and enter the following Python code:
import os
from dotenv import load_dotenv
load_dotenv()

server =  'tcp:' + os.getenv('server') + ',1433'
database = os.getenv('database')
username = os.getenv('login') + '@' + os.getenv('server')
password = os.getenv('password')

connection_string = (
  'Driver={ODBC Driver 18 for SQL Server}' +
  ';Server=' + server +
  ';Database=' + database +
  ';Uid=' + username +
  ';Pwd=' + password +
  ';Encrypt=yes' +
  ';TrustServerCertificate=no;'
)

print(connection_string)
Save the file and run it. I saved it as test1.py:
(env) $ python test1.py
It should print out the connection string, incorporating the environment variable values you defined earlier in the dotenv file:
Driver={ODBC Driver 18 for SQL Server};Server=tcp:my-sql-server-name.database.windows.net,1433;Database=my-sql-database-name;Uid=sqldb_userid@my-sql-server-name;Pwd=sqldb_passwd;Encrypt=yes;TrustServerCertificate=no;
This is the same as the connection string provided by Azure, but with the driver version updated and your userid and password added.
Create a database connection
Once you have the connection string, connect to the Azure SQL Server database, using the pyodbc library. Add the following code to the end of your Python program and run it again:
import pyodbc
conn = pyodbc.connect(connection_string)
print(conn)
The database connection will be managed by the object instance returned by the pyodbc.connect() function call. You assigned that object to the variable name, conn.
Save and run the program. You should see output similar to the following:
<pyodbc.Connection object at 0x7f0a8cbf7380>>
This indicates that you have successfully established a connection to the database server. If you did not successfully connect, you will see an error message that should help you debug the problem.
In my experience, the most common problem was that my public IP address had changed. In those cases, checked my public IP address and used the Azure CLI to create a new firewall rule with the new public IP address.
Reading data
To read data from the database connection, create a database cursor object, or pointer, using the conn object's cursor() method.
Execute an SQL statement using the cursor object's execute() method. It populates the cursor with database rows returned by the query. If you want to read just one row, use the cursor instance's fetchone() method.
For example, to read the SQL Server software version, add the following code to the end of your program:
statement = "SELECT @@version;"

cursor = conn.cursor()
cursor.execute(statement)
print(cursor.fetchone())
cursor.close()
Save and run the program. You should see output similar to the following:
('Microsoft SQL Azure (RTM) - 12.0.2000.8 \n\tMay 22 2023 22:22:02 \n\tCopyright (C) 2022 Microsoft Corporation\n',)
To read the database schemas available in the database, add the following code to the end of your program:
statement = """
SELECT DISTINCT
  TABLE_SCHEMA
FROM INFORMATION_SCHEMA.VIEWS
ORDER BY TABLE_SCHEMA
"""

cursor = conn.cursor()
cursor.execute(statement)
print(cursor.fetchall())
cursor.close()
Since you expect more than one row in the result, use the fethchall() method, which will return all rows in a list.
The returned list shows the database schemas that you have permission to read.
[('dbo',), ('SalesLT',), ('sys',)]
This proves you have successfully created a database containing sample data.
Delete Azure resources
The database you created may be left running at no cost for twelve months so you do not need to delete it immediately. However, if you want to clean up the resources you created, the easiest way is to delete the resource group with the following command:
$ az group delete --name $resource_group
Conclusion
After you create your Azure free trial account and install Azure CLI, you can create a sample database with just a few Azure CLI commands. You can get the connection information from Azure and connect your Python programs to the database using the pydobc Python library and the Microsoft ODBC Driver for SQL Server.
Once you have a connection established, you can start practicing using Python to explore the database tables and to read and analyze the data. I will cover various ways to explore the database schema and to read and transform data in future posts.
Appendix A: Using the Adventureworks public database server
At the start of this post, I mentioned that you might want to use the Adventureworks public database server. I think it is still useful as a way of showing how permissions are handled when you are exploring a database schema because you do not have permission to get data from the Adventureworks database views.
If you choose to experiment with the data on the public server, you can re-use all of your code from the above tutorial. Just create a new dotenv file and change one line in your program to get data from that file instead of the default file.
Create a new file named .env.public and save it in your project directory. The contents of the file should be:
server="sqlservercentralpublic"
database="AdventureWorks"
login="sqlfamily"
password="sqlf@m1ly"
Then, change the line in your program where you call the load_dotenv() function and add the new file to its paramaters, and set the override parameter to True so it will overwrite existing environment variables.
load_dotenv('.env.public', override=True)
Now, when you connect to the database, you will connect to the public Adventureworks database.
-
Microsoft Azure offers a free service tier that, in addition to offering $200 in services for free for 30 days, allows you to run small configurations of certain services, like a small SQL Server, for 12 months at no cost. ↩
-
I cover Azure's Python API in my post about creating the azruntime program. ↩
-
Sourcing the .env file only works on Linux and Mac OS. To load environment variables defined in the .env file in a Windows Powershell terminal, use the Powershell script described in Stackoverflow answer #48607302. ↩